The most amazing —if not— the best GLUTEN-FREE sourdough you will ever make...
… and TASTE!
Repetition is by far the best path toward perfection, and this includes working on this amazing recipe.
I started to make my own sourdough in early 2018.
Being gluten intolerant and hypersensitive to many other proteins found in wheat and other gluten-containing grains, I had to make my own gluten-free sourdough starter from scratch and design a great recipe that I can enjoy time and time again, and provide one of the best recipes you will ever want to keep.
Over the last two years, I have added many recipes using the same starter, which can be found by clicking on this link: www.exquisiteprivatechef.co.uk/its-all-about-food/sourdough.
You can also make a gluten-free sourdough pizza by following this recipe: https://www.exquisiteprivatechef.co.uk/its-all-about-food/sourdough-pizza
The list of food you can make using this starter is endless. As you will see by clicking on the links above, you can make pancakes and waffles, which are easier to digest and taste absolutely amazing, the way it should. The way our grandparents were used to, when whole and simple foods were the norme, and everything tasted delicious.
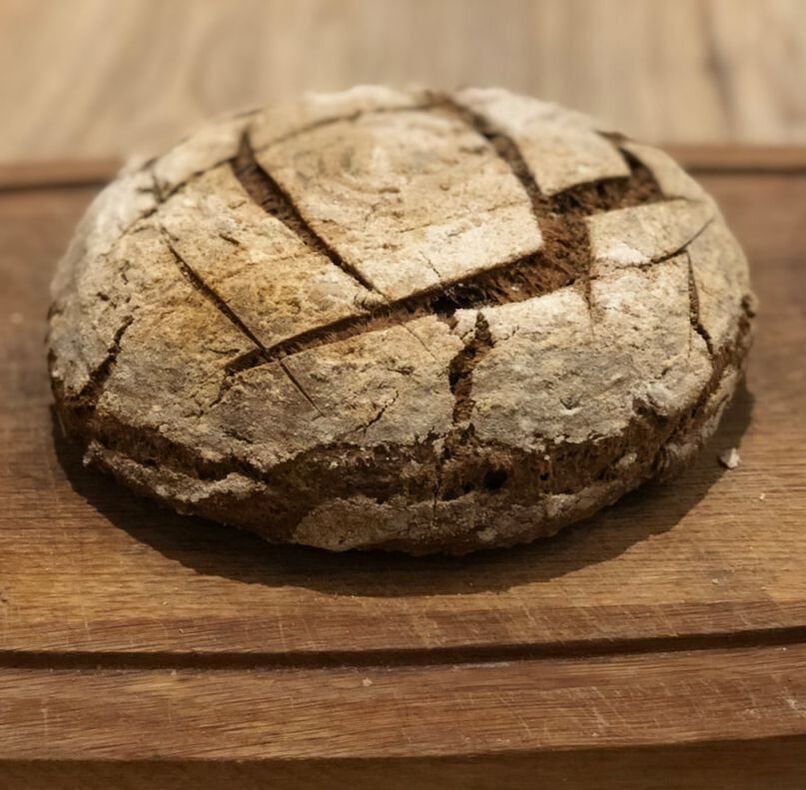
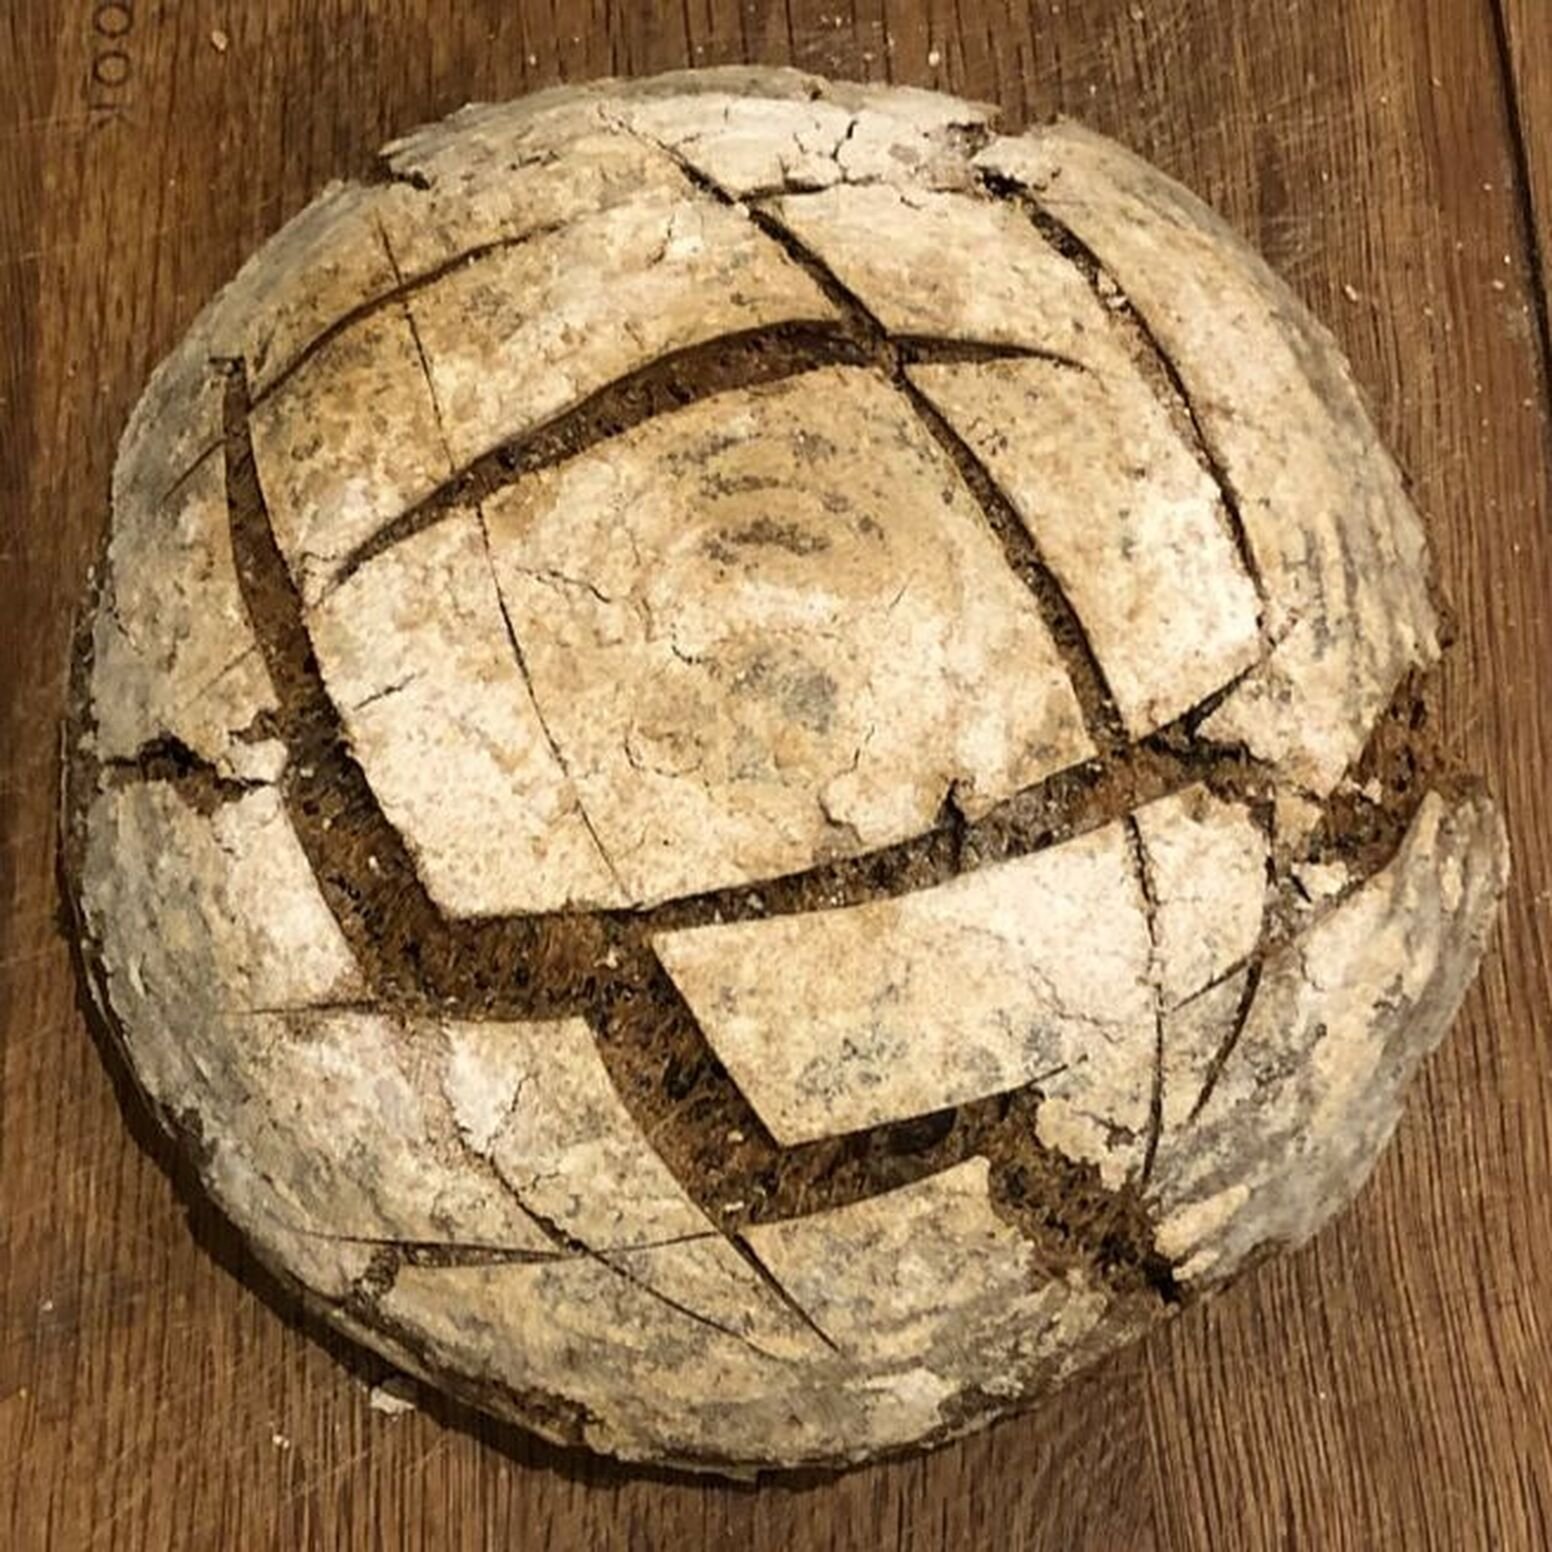
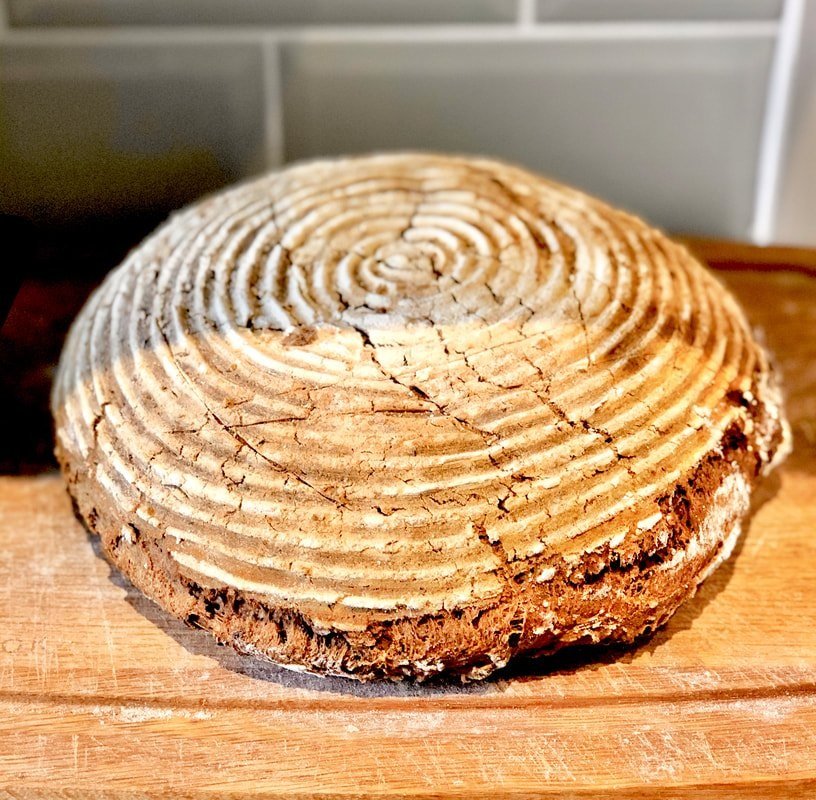
Today, I finally reach 'perfection', pulling out of the oven a sourdough that looks exactely like one I would find in the most expensive artisan boulangerie, but contrary to those found in such places, my original recipe is 100% gluten-free, additive-free and yeast-free.
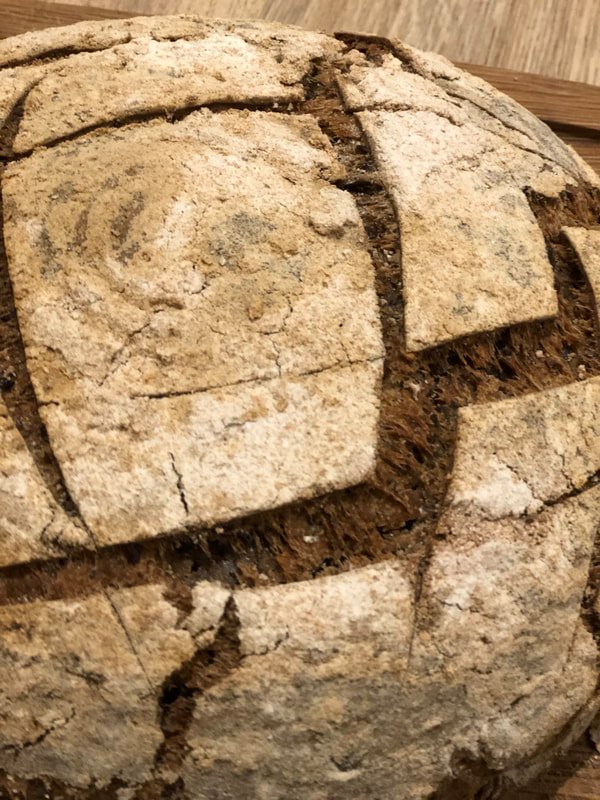
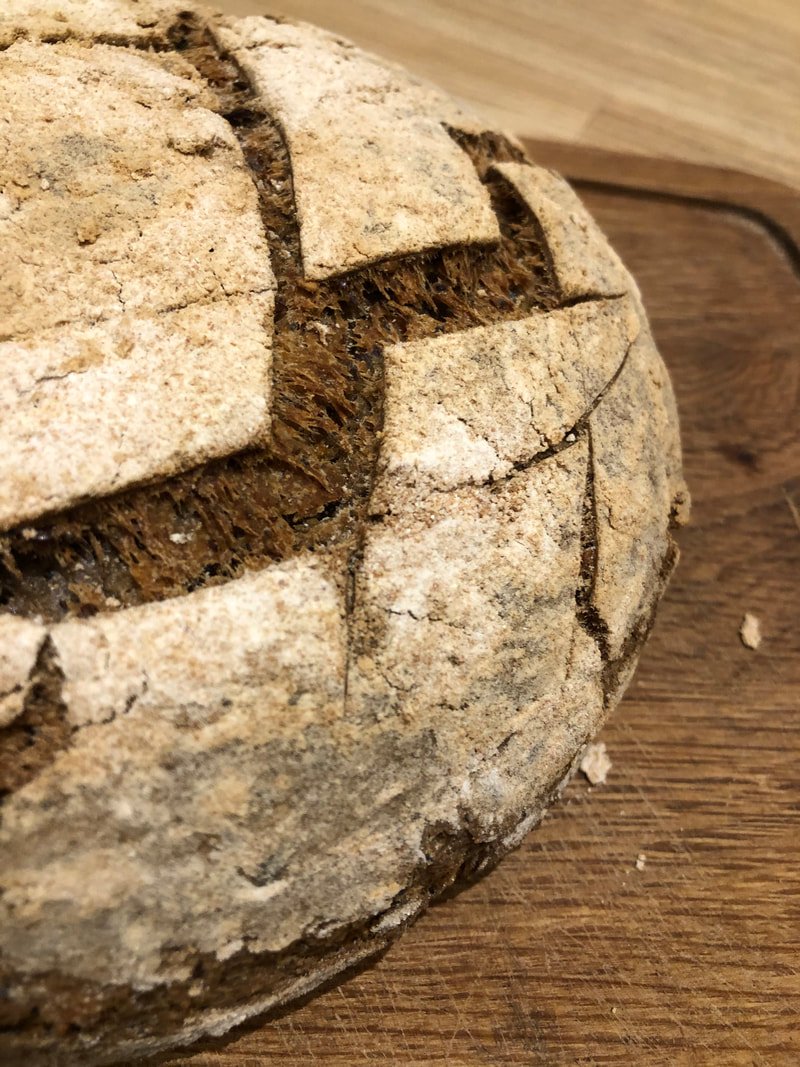
The recipe works so well that if you look closely you can see the stretched lines that you would expect on a sourdough loaf.

Can you believe it is gluten-free?
Here is the complete recipe, which you can also find on the previous blog, but I thought it was about time the updated recipe had its own brand-new platform.
Ingredients (1 large loaf)
700 g starter
750 ml water
455 g (sprouted) buckwheat flour
300 g gluten-free brown bread flour
50 g flax/linseeds (whole)
50 g flax/linseed (ground)
20 g sesame seeds
20 g pumpkin seeds
20 g sunflower seeds
20 g poppy seeds (optional)
10 g psyllium husks
6-8 tbsp extra-virgin first cold pressed olive oil
2 tbsp apple cider vinegar (with mother)
25 g salt flower (“fleur de sel”) or non-iodised salt
15 g sugar (optional)
Method:
Follow the step-by-step method as given in the original recipe.
Add the seeds to the diluted stater in your mixer bowl, and with the k blade mix for 15 minutes (or longer, to open the seeds and help release their content, including mucilage, which is an important binding agent in this recipe)
2. Add the dry ingredients. Once, all dry ingredients are combined, add the olive oil and vinegar.
3. Keep mixing the dough for another 5-15 minutes to allow seeds to open up and absorb the water and make a more aerated and soft middle once cooked (the seeds release the water, and essential fatty acids, as they start heating up during baking).
4. Transfer the dough into a ratan proofing basket and cover with a clean cloth. Proof for about 12-13 hours at 40˚c (I use my dehydrator but you can use any oven or warming cabinet). You can let the dough to proof for up to 24 hours for a stronger taste.
5. Delicately, lift the dough upside down onto a parchment-line oven tray and remove the basket. Use a very sharp knife or bread cutter to make incisions at the top.
6. Leave the sourdough to proof for another 2 hours. It will get into its final shape (and will rise up as it cooks).
If you want a more aerated and stronger sourdough, you can leave to proof for another 12 hours.
7. Heat your oven to 190˚c and place the sourdough in the middle of the oven. Bake for 45 minutes (if your oven has a setting top and bottom without fan, then use this setting).
8. If you pressed gently on the bread, it should still be bouncy and just a little crusty. Remove from the tray and transfer onto an oven rack (if you are baking the bread on a pizza stone, you can leave there, at the heat is well-distributed and makes a nice crust all around). Place in the oven again and bake for a further 20 minutes also. If the sourdough darkens too quickly lower oven to 180˚c.
9. If you'd knocked on the bread with your finger, it should sound allow and be crusty. It is ready. Remove the bread from oven and transfer it onto a cooling rack.
10. Leave to cool for about 2 hours. Do not be tempted to cut into the bread just yet, as this will release the trapped steam all at once, and will make up a crumbly bread that will not hold together when sliced. It is a gluten-free sourdough after all, and there is nothing quite holding the bread in the way gluten does.